A kitchen remodel can be a long and time-consuming process and it does take a lot of planning and preparing before the actual process starts. However, before the first tile is laid or cabinet installed, a crucial step awaits: packing up your existing kitchen.
Neglecting this step can greatly affect your renovation’s success and efficiency. Here we’ll explore all the possible ways on how to pack up a kitchen for remodel, so that all kitchen items get stored safely and are accessible during the remodel.
How to Pack up a Kitchen for Remodel?
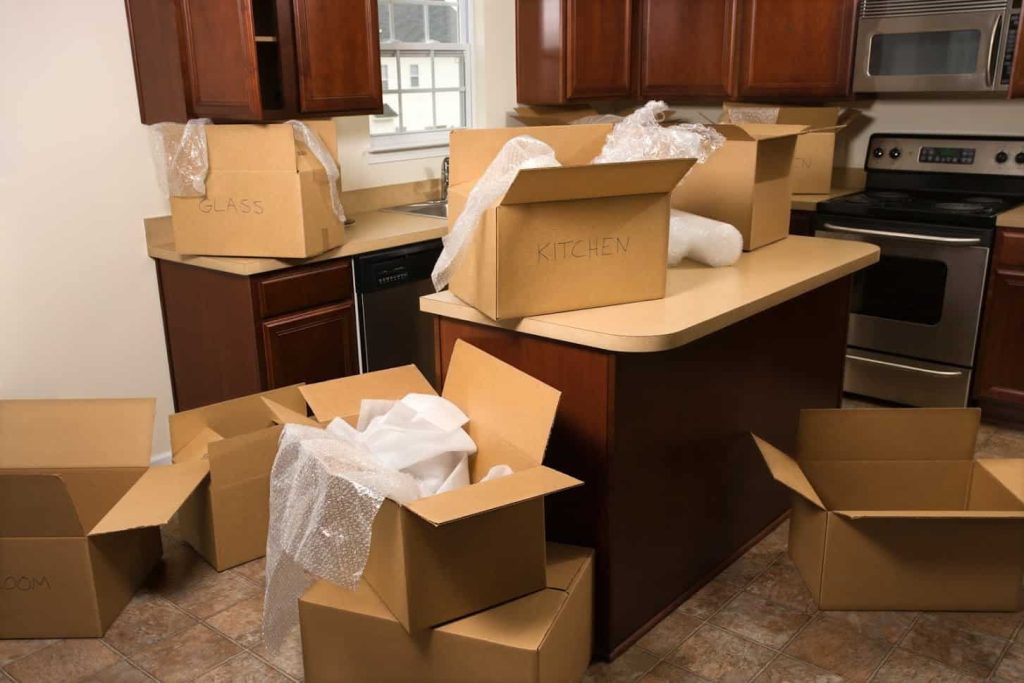
Packing a kitchen for remodeling is crucial for a smooth renovation. Taking the time to do this right can take off the stress when starting with the kitchen remodel. Begin by planning your strategy and decluttering. Gather sturdy boxes, bubble wrap, and other packing supplies.
Carefully wrap and pack fragile items, labeling boxes clearly. Organize non-fragile items efficiently by nesting and stacking. Unplug and clean appliances that will be moved or stored. Wrap or cover them to prevent damage during the remodel.
Sort food into perishables and non-perishables, setting up a temporary kitchen space if needed. Create a detailed inventory as you pack to facilitate easy unpacking later. Finally, communicate with contractors about protecting other areas of your home during the remodel. To better understand the process of packing things up, we’ll elaborate on each step separately.

Planning and Preparation
Before diving into the chaos of construction, it’s essential to understand how to prepare for a kitchen remodel. While planning to pack things out of your kitchen countertops may seem silly and unconventional, it will definitely save you plenty of time and aggravation during the remodeling stage.
Make a list of what will go in each box and which items you may think you’ll need during the remodel. Remodeling a kitchen may take up to 8 weeks, so it may come in handy to have the essentials at hand reach.
Set a Timeline
Create a timeline for your kitchen remodel by setting a start date and working backward, breaking packing into weekly tasks. Begin with rarely used items, moving to daily essentials last, allowing continued kitchen use.
Add extra days to your schedule for unexpected delays, so you can reduce the stress and ensure a smoother packing process. Staying organized and flexible throughout will make the transition much easier. Regularly review your plan to stay on track and adjust as needed.
Gather Supplies
Having the right packing supplies simplifies the process. Use various-sized boxes, bubble wrap, packing paper, tape, and markers, and consider special dish pack boxes for fragile items.
Opt for eco-friendly options like reusable bins or cloth napkins, and stay organized with color-coded labels and clear plastic bags for small items. This approach makes unpacking much easier. Proper preparation ensures everything is protected and easy to locate when you need it.
Declutter and Sort
Before packing, declutter your kitchen by evaluating each item’s usage in the past year. Sort items into daily, occasional, and rare-use categories. Decide to keep, donate, or discard based on condition and frequency of use.
This streamlines packing and ensures a fresh, clutter-free start in your new kitchen. Prioritize keeping only what you need and use regularly to simplify the move. This approach not only reduces clutter but also helps you make the most of your new space.
Packing Step-by-Step
Start with Non-Essentials
Begin packing with items you rarely use, sorting them by type for easier unpacking later. Use strong boxes, placing heavier items at the bottom and lighter ones on top, and clearly label each box with its contents and destination.
Consider storing items that may not fit in your new kitchen long-term, using plastic bins with moisture-absorbing packets. This early organization will help keep your move efficient and stress-free.
Pack Up Daily Essentials
Set aside daily essentials like plates, cups, and basic cooking tools, placing them in a clear bin labeled as your “survival kit” for easy access. Include items for simple cooking during the remodel, such as a microwave-safe bowl and a can opener.
Pack these items last to keep your kitchen functional as long as possible. Keeping this kit accessible ensures you can maintain some normalcy during the remodel. Include non-perishable snacks to make quick meals more convenient.
Protect Fragile Items
Wrap each fragile item with bubble wrap carefully before placing them in boxes. Strategically pack by placing heavier items at the bottom and filling gaps with crumpled paper to prevent shifting.
Ensure that fragile items are securely cushioned to minimize movement. Label boxes containing fragile items as “FRAGILE” on all sides for careful handling. Taking these precautions will help prevent damage during the move.
Label Everything
Label each box with the room name and a short list of contents using color coding for different areas of your new kitchen. Make labels large and easy to read, placing them on multiple sides of each box for easy identification.
Include a brief description of high-priority items to easily locate them when needed. Keep a master list of box numbers and contents to simplify unpacking. This detailed labeling system will save time and effort when settling into your new kitchen.
Storing Packed Items
Choose a Storage Location
When remodeling, choose a storage option that balances accessibility, safety, and cost. A garage is convenient and cost-effective, while a spare room offers protection from weather. Basements keep items out of the way and in good condition, but a storage unit provides controlled conditions and security.
Alternatively, a portable storage container allows flexibility, or you might consider asking a friend for space. Prioritize temperature control, security, and ease of access based on your needs during the remodel.
Organize Storage Space
After choosing your storage spot, organize your items for easy access and safety. Stack heavier boxes on the bottom for stability, leave spaces between stacks for easy access, and clearly label each box with its contents and room.
Place frequently used items at the front and keep boxes from the same room together. Utilize all available space, including inside larger items, and disassemble furniture to save space, keeping small parts in labeled bags.
Clear Out the Kitchen
Remove all items from cabinets, drawers, and countertops. Sort through belongings, deciding what to keep, donate, or discard as you pack. Clean the kitchen thoroughly to prepare for the remodel. This includes wiping down surfaces, cleaning appliances, and addressing any pest issues.
Disconnect Appliances
Safely disconnect and move large appliances like the refrigerator, stove, and dishwasher. Follow manufacturer guidelines for proper disconnection and handling. Wrap appliances in moving blankets or plastic sheets for protection. Store them in a safe, dry area away from the construction zone.
Set Up a Temporary Kitchen
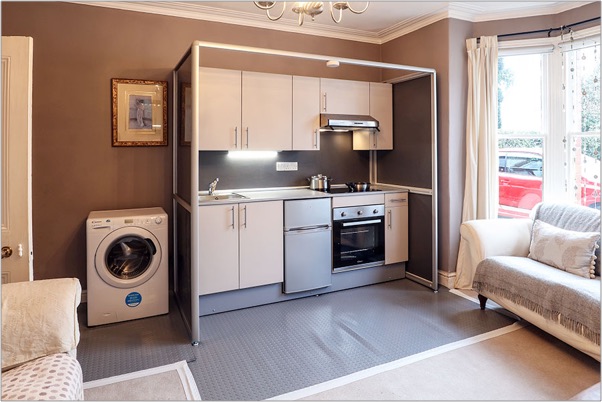
Create a temporary kitchen in a convenient area of your home, such as a spare room or garage. Ensure it has access to electricity and water, and set up essential appliances like a microwave, electric kettle, and portable cooktop.
Stock your temporary space with basic utensils, dishes, and frequently used ingredients. Consider using disposable plates and cutlery to minimize washing up, and organize a small pantry area for easy access to non-perishable foods.

Conclusion
Packing up your kitchen for a remodel is a crucial step that sets the stage for a successful renovation. By following a systematic approach, you can ensure a smoother, more efficient remodeling process. Start with planning and gathering supplies, then carefully pack and store your items.
Remember to start early, declutter as you go, and prioritize the protection of fragile items. Understanding how to pack up a kitchen for remodeling is essential for protecting your belongings and allowing contractors to work more efficiently.
While the process may seem daunting, a well-packed kitchen is the foundation of a successful remodel. With careful preparation and the tips provided in this guide, you’ll be well on your way to transforming your kitchen into the space of your dreams.


